Updating your floors is one of the most impactful ways to refresh the style and comfort of your home. If you currently have old, cracked, or outdated ceramic tiles, you might be dreaming of replacing them with the warmth and timeless look of hardwood. However, traditional demolition can be a messy, dusty, and time-consuming process. This leads many homeowners to ask: can wood floors be installed directly over existing tile?
At Driftwood Design LLC, we guide clients through these structural decisions every day. Homeowners are often thrilled to learn that the short answer is yes, you can absolutely install wood flooring over tile. Skipping the demolition saves time and keeps your home clean, but it requires careful planning to prevent future issues. Understanding the right conditions for this setup allows you to achieve a beautiful, long-lasting update without the headache of ripping up your old floor.
Essential Conditions for Installing Wood Over Tile
While putting wood over tile is a smart shortcut, you cannot just drop new planks onto any tiled surface. The existing tile acts as the foundation for your new floor, meaning it must meet strict structural standards.
Before starting any project, Driftwood Design LLC evaluates the condition of the base floor. A successful project relies on meeting a specific checklist:
- The Tile Must Be Secure: Any loose, shifting, or hollow-sounding tiles will ruin your new hardwood. If the old floor moves, the wood planks on top will eventually rub together, creak, or separate.
- The Surface Must Be Level: Concrete underlayment or thinset mortar can smooth out deep grout lines, but the overall floor must be flat. Large dips or high spots will cause the wood to bounce and flex when walked on.
- The Floor Must Stay Dry: Tile is often installed in areas prone to dampness. Because wood expands and warps when exposed to moisture, testing the subfloor for moisture is a non-negotiable step.
- The Added Height Must Fit: Layering wood directly over tile adds significant thickness to your floor. You must check that your interior doors can still swing open freely and that the transition to neighboring rooms stays safe.
Managing Threshold Transitions and Door Clearances
One of the most overlooked challenges of nesting new wood directly over tile is how the cumulative thickness impacts the rest of the room. Adding a new layer of engineered hardwood alongside its necessary underlayment can raise the floor height by a half-inch or more. This means interior doors will likely drag across the new surface, requiring them to be taken off their hinges and trimmed at the bottom. Baseboards and shoe moldings must also be raised or replaced to maintain correct proportions against the new floor level.
Transitions into adjacent rooms require strategic planning as well. If the neighboring room has thin carpeting or vinyl, the sudden step up to your new wood floor can become a tripping hazard if it is not handled properly. Our team addresses this by installing specialized reducing strips or T-molding transitions that taper the height difference gradually. Managing these small details during the design phase keeps the pathways throughout your home safe and visually uniform.
Choosing the Right Type of Wood Flooring
When covering tile, the type of wood material you choose determines how your floor handles environmental changes. Solid hardwood is rarely recommended for this specific application because it must be nailed down, and driving nails through ceramic tile is nearly impossible without shattering the base.
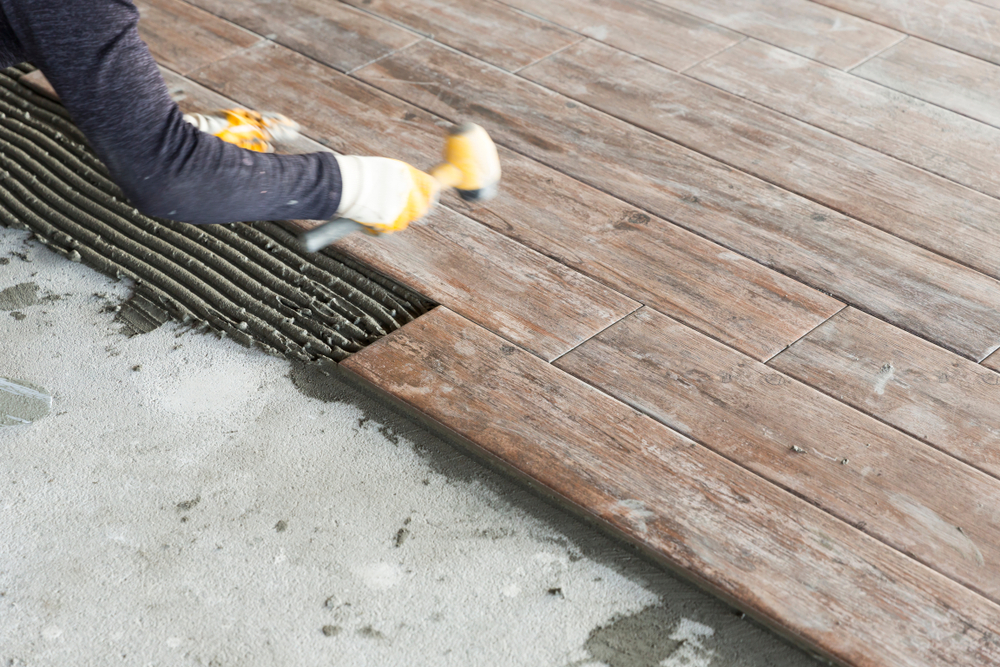
Instead, engineered hardwood is the ideal option. Engineered planks feature a real wood top layer bonded to structural plywood backing. This design makes the planks highly stable and allows them to be glued down or installed as a “floating floor” that clicks together over a protective underlayment.
| Flooring Aspect | Solid Hardwood Over Tile | Engineered Hardwood Over Tile |
| Attachment Method | Requires nailing; highly difficult over ceramic base. | Floating or glue-down options work perfectly. |
| Moisture Resistance | Poor; vulnerable to cupping if moisture rises through tile. | High; layered design resists seasonal humidity shifts. |
| Overall Added Height | Typically thicker ($3/4$ inch), creating major door clearance issues. | Thinner profile ($3/8$ to $1/2$ inch) minimizes height buildup. |
| Recommended Verdict | Not recommended by structural experts. | Highly recommended for smooth, floating installations. |
Coordinating Transitions in Your Home Renovation
Thinking ahead about how your new floors meet your existing spaces is crucial for a clean look. This height change becomes especially obvious at entryways and where different types of rooms connect.
If you are updating a home along the coast, Driftwood Design LLC coordinates these layouts to maintain a smooth flow from room to room. When planning a fresh look for your main living areas, scheduling an engineered flooring installation in Monmouth County allows you to skip the messy tear-out process and refresh your space in a fraction of the time.
Preparing the Surface for Long-Term Success
To get a flawless finish, the preparation phase cannot be rushed. Our team at Driftwood Design LLC takes the time to rough up glossy tile glazes using a diamond sander. This sanding step creates a textured surface that allows high-quality flooring adhesives to bond tightly to the ceramic base.
We also lay down a high-grade foam or cork underlayment before clicking floating floors together. This thin cushioning layer serves two vital purposes: it dampens sound so your walking doesn’t sound hollow, and it acts as a secondary moisture barrier that keeps dampness away from your beautiful new planks.
Assessing Subfloor Stability Under the Old Tile
Before committing to installation, it is critical to understand what lies beneath the tile itself. If the original tile was installed over a flexing plywood subfloor without a proper cement backer board, the floor may have too much vertical deflection. Wood planks installed over a bouncy foundation will eventually experience separation at the interlocking joints, causing the floor to separate over time. Our installation experts carefully inspect the stiffness of your floor to confirm it can handle the extra weight and movement of a secondary wood layer.
Testing for hidden moisture beneath the ceramic surface is another critical step in our preparation process. Ceramic tile is highly effective at trapping moisture underneath its surface. If moisture is present and wood planks are laid on top without a proper defense, that trapped humidity will eventually rise, causing the wood to cup or warp. By applying professional moisture meters across the old grout lines, we verify that the environment is completely dry before any new materials are laid down.
Further down the shore, we maintain a dedicated design team focused on remodeling high-traffic interior spaces. If you want to extend that warm wood look directly into your cooking area, our team can help you integrate the change seamlessly into a new kitchen design in Brick Township. By evaluating the cabinet heights and appliance clearances beforehand, we make sure the extra floor layers fit perfectly without disrupting your layout.
Start Your Project Today
You do not have to endure days of loud jackhammering and heavy dust to get the hardwood floors you want. By checking your subfloor condition and picking the correct engineered materials, you can enjoy a fast, clean home transformation.
Ready to see if your home is a good candidate for this efficient update? Contact Driftwood Design LLC today to schedule an in-home consultation and discuss your design goals with our local flooring experts.